Dumpling bake
牛肉煎饺
Description / 简介
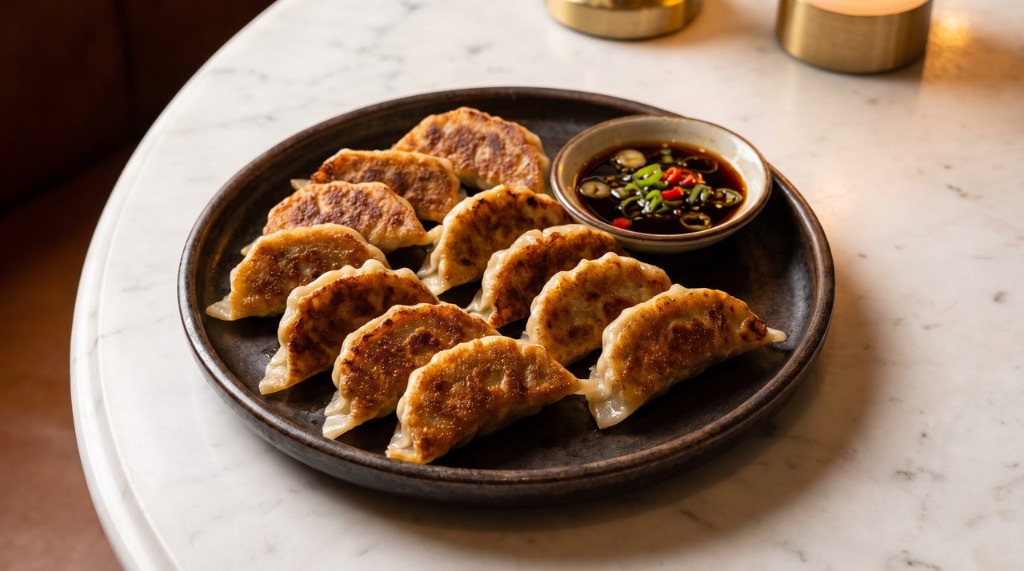
Dumpling bake are one of the most satisfying dishes in Chinese home cooking — juicy, well-seasoned beef wrapped in tender dough, then pan-fried until the bottom turns golden and crisp while the top stays soft and chewy. The real magic is the steam-fry technique: a splash of water and a lid cook the dumplings through at the same time the pan crisps the bottoms, so every dumpling is cooked inside and out. This version is designed for beginners, using store-bought dumpling wrapper
Ingredients / 食材
Ground beef (牛绞肉) 400g
Dumpling wrappers (饺子皮) 25 sheets
Scallions (葱) 3 stalks (finely chopped)
Ginger (姜) 20g (minced)
Light soy sauce (生抽) 20ml
Dark soy sauce (老抽) 5ml
Oyster sauce (蚝油) 15ml
Cooking wine (料酒) 10ml
Sesame oil (香油) 10ml
Salt (盐) 3g
White pepper powder (白胡椒粉) 1g
Water (清水) 80ml — for the filling
Cooking oil (食用油) 30ml — for the pan
Cornstarch (淀粉) 8g — optional, for the crispy lace
Water (清水) 120ml — for the starch slurry
Scallion and sesame seeds (葱花、白芝麻) 适量 — garnish
Soy sauce, black vinegar and chili oil (酱油、醋、辣椒油) 适量 — dipping sauce
Instructions / 制作过程
Step 1: Season the Beef Filling
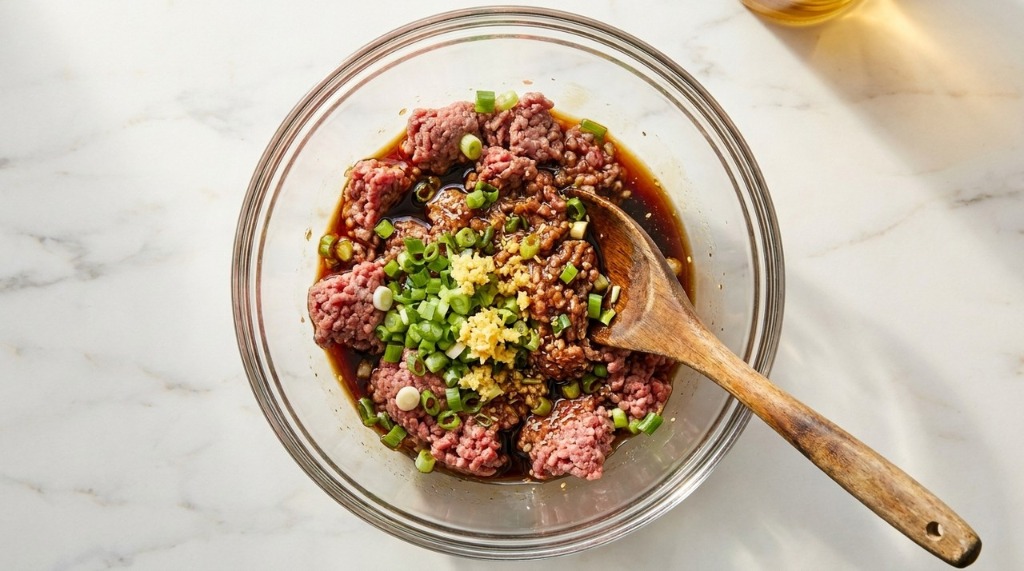
Place the ground beef in a large bowl. Add the scallions, ginger, both soy sauces, oyster sauce, cooking wine, sesame oil, salt, and white pepper. Mix everything together in one direction for 1 minute. Now slowly drizzle in the 80ml of water while continuing to stir in the same direction — the meat will absorb the water and turn from dry and crumbly to sticky and springy, which is the secret to juicy dumplings. Once the filling looks pale, glossy, and holds together when you pinch it, cover the bowl and refrigerate for 20 minutes while you prepare everything else.
Step 2: Wrap the Dumplings
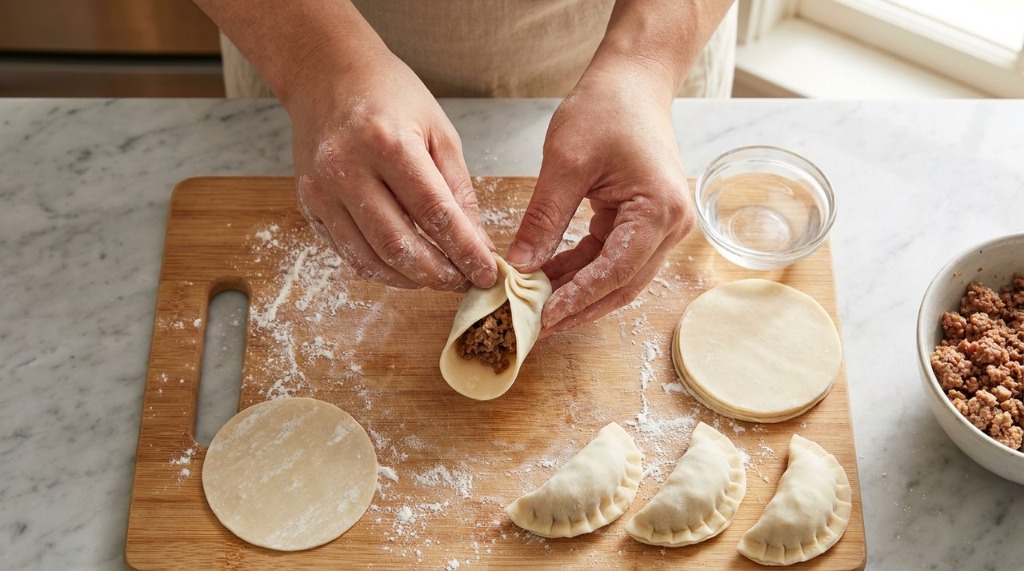
Lay out the dumpling wrappers on a clean, dry work surface. Scoop about 15g of filling into the center of each wrapper — don't overfill, or the dumplings will burst during cooking. Wet the edge of the wrapper with a little water, then fold it in half over the filling. Pinch the center closed first, then pleat along the edge with your thumbs, working from one side to the other. Press firmly to seal every pleat, since a good seal keeps the juices in and prevents the bottom from falling apart in the pan. Set the finished dumplings on a floured plate so they don't stick to each other.
Step 3: Pan-Fry Until the Bottoms Are Golden
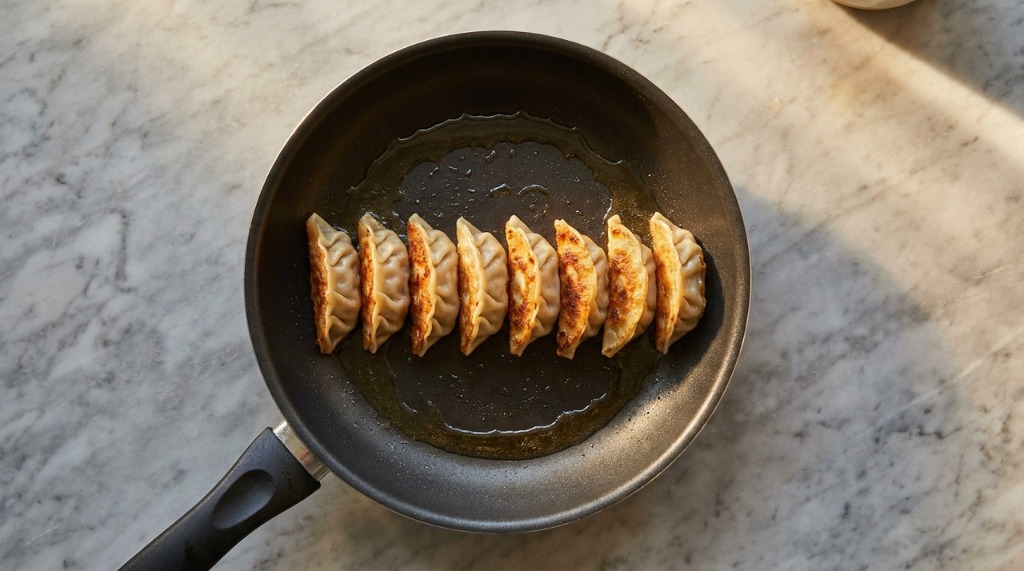
Heat a non-stick frying pan over medium-high heat and add 15ml of oil, swirling to coat the base. Arrange the dumplings in a single layer, close together but not touching. Fry for about 1-2 minutes without moving them, until the bottoms turn light golden and the dough firms up. If you're using a regular (not non-stick) pan, keep the heat a bit lower — non-stick and cast iron behave very differently with dumplings.
Step 4: Steam-Fry with the Lid On
In a small bowl, mix 8g of cornstarch with 120ml of water until completely dissolved — this starch slurry is what creates the signature crispy lacy skirt. Pour it around the dumplings (not over them) so it sizzles on contact. Immediately put the lid on, turn the heat to medium, and let it cook for 8-10 minutes. The steam cooks the filling all the way through while the starch water fries into a delicate lace around the edges. When the water is nearly gone, take off the lid, add the remaining 15ml of oil around the pan, and cook for another 1-2 minutes until the starch turns golden and crisp and the bottom is deeply browned. Watch it closely at this point — the lace burns fast.
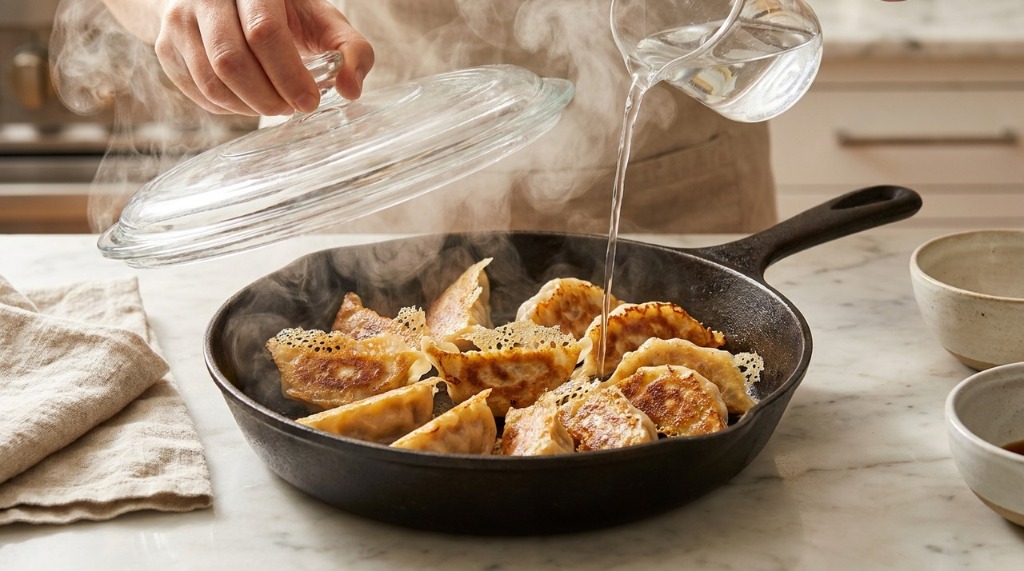
Step 5: Plate and Serve
Slide a plate over the pan, flip the pan in one confident motion, and lift it off — the dumplings drop right onto the plate with their crispy lacy bottoms showing. Sprinkle with chopped scallions and a few sesame seeds. Serve hot with a dipping sauce of soy sauce, black vinegar, and a drizzle of chili oil. These are best eaten straight away, while the bottoms are still crackling.
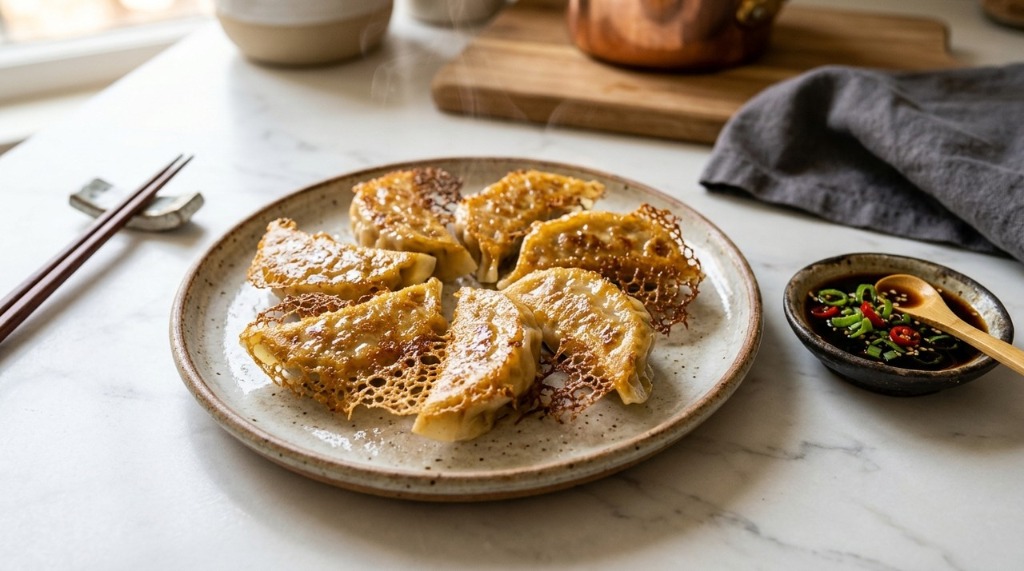
Tips
- Store-bought wrappers are your best friend as a beginner. They are consistent, pre-rolled, and save the hardest part of dumpling making. Keep them under a damp towel while you work so they don't dry out and crack when you fold them.
- Adding water to the filling is the single biggest upgrade. The 80ml of water stirred into the beef is what makes the filling juicy instead of dry and chewy. Stir in the same direction the whole time, and wait until the meat looks pale and sticky before you stop.
- Don't overfill. About 15g of filling per wrapper is right. Too much and the dumplings will pop open in the pan.
- The lace is worth the cornstarch. If you skip the slurry, the dumplings still taste great — you just get crispy bottoms instead of the lacy skirt. If you have cornstarch in the pantry, use it.
- Watch the final 2 minutes closely. The starch lace goes from golden to burnt in seconds. If you're unsure, pull it off the heat a little early — it keeps crisping as it cools.
FAQ
Do I have to make the dumpling wrappers from scratch?
No, and for a beginner you shouldn't. Store-bought wrappers (available in most Asian grocery stores and supermarkets) work perfectly. If you do want to make them, the trick is mixing half the flour with boiling water and half with cold water for a more tender, springy wrapper.
Why are my dumplings falling apart in the pan?
Usually one of three things: the pleats weren't sealed tightly enough, the pan wasn't hot enough when you added them, or you moved them too early. Press the pleats firmly, and let them sit undisturbed for a full 2 minutes before checking.
Can I freeze the dumplings for later?
Yes. Arrange the uncooked dumplings on a floured tray, freeze until solid (about 1 hour), then transfer to a freezer bag. They keep for up to 2 months. When pan-frying from frozen, add 1-2 extra tablespoons of water and a couple more minutes of cooking time.
My filling tastes bland. How can I fix it?
Taste a small pinch of the raw filling before wrapping — it should be slightly more seasoned than you want it to be, since the broth and starch dilute the flavor. If it needs more, add a splash of light soy sauce rather than salt, for deeper flavor.
Can I make these in an air fryer?
You can, but they won't have the same soft, steam-baked top. Air-fry at 200°C for 8-10 minutes, spritzing with oil halfway, then brush the top with the brown sugar-free soy mixture for color. The classic pan-fry method gives a much better result.